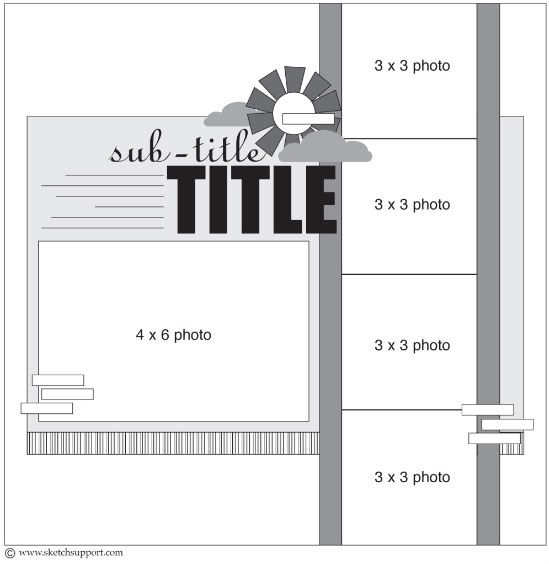
What a crazy month March was! From spring break and road trips to some big home projects that needed to get done, the month sure did fly by too fast! So I'm playing catch up a little this morning with some projects I've completed since I last posted. I was honored to be chosen as a guest design team member for March over at Sketch Support. I really loved working with Allison's sketches!
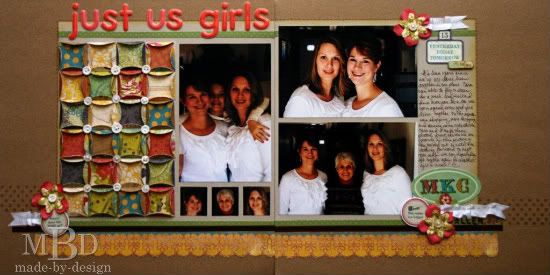
“Just Us Girls”
Supplies Used - Cardstock: Close To My Heart (white), DMD Inc. (kraft), Bazzill (dark brown and green embossed Dotted Swiss), and unknown (gray); Patterned Papers: Crate Paper Restoration (Chaplin, Garbo, Bette, Elements, and 6x6 pad); Stamps: Technique Tuesday Alphabet (Underground Caps), Studio G (Monogram letters), Paper Trey Ink (Polka Dots), and Fontwerks (Ruler Border Stamp); Inks: Ranger Distress Inkpads (Walnut Stain, Peeled Paint), Tsukineko (Versamark Inkpad); Markers: EK Success Zig Markers (Brown, Pink, Blue, Yellow); Punches: EK Success (1 ¾ circle, 1 ¼ square); Embellishments: American Crafts (Chit Chat Grapefruit Puffy Letter Alphabet Stickers) Making Memories (Paper Flowers), and Crate Paper Restoration (Stickers and Die Cuts); Buttons: Craft stash; Ribbon: Martha Stewart (white); Other: White crochet thread and Martha Stewart Scoring Board
Photos:
• I used 5 photos total,
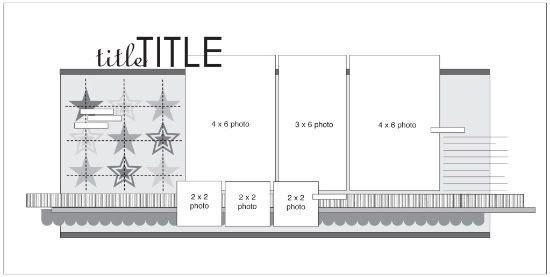
• I used one 4x6 vertical photo and two 4x6 horizontal photos
• For the smaller photos, I punched each of our faces from an extra photo (1 ¼” squares)
• Instead of overlapping these smaller photos, I lined them up under the vertical photo.
Title:
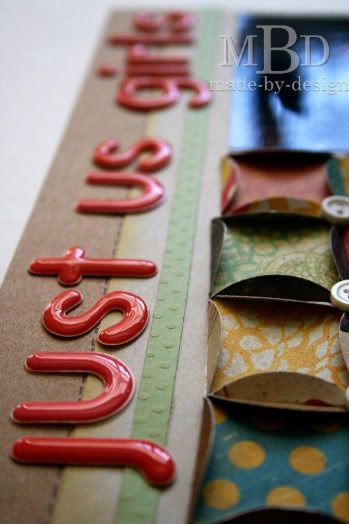
• I loved how these puffy pink thickers matched the papers so well and are a reminder of my sticker-collection days with my sister growing up. We loved the puffy stickers the most!
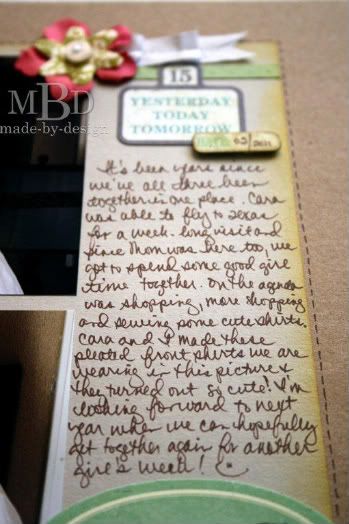
• Journaling was written on the extra space provided on the grey cardstock.
• I also stamped the words “Allen girls” in the bottom right corner.
Papers:
• Instead of using a stripe paper as shown in the sketch, I stamped a ruler pattern on the dark brown cardstock to create my own striped paper with a tone-on-tone look.
• I added a scallop border along the bottom of the layout that was fussy-cut from a pattern paper.
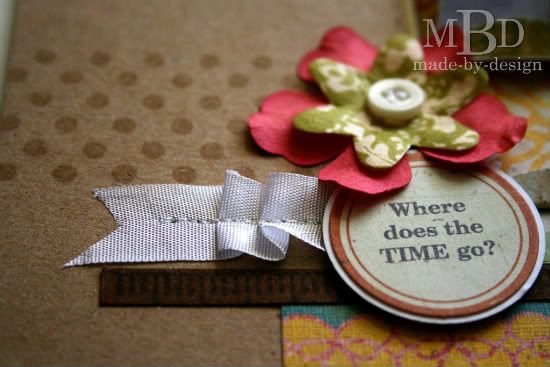
• I added ribbon in addition to the paper borders along the bottom. I used white ribbon that I ruffled with a sewing machine to mimic the ruffles in the shirts my sister and I made together.
• I also stamped a polka dot section along the background where the photos and paper borders meet.
Embellishments:
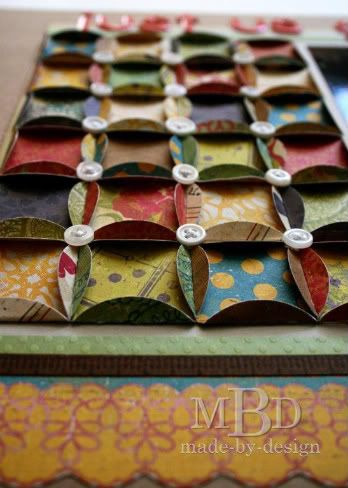
• Instead of the stars in the grid shape that were shown on the sketch, I was inspired with the stitching element and decided to create a quilt with paper. I used paper circles folded to resemble a Cathedral Window quilt pattern, just like a quilt my mom has made. I stitched buttons at each intersection for added embellishment.
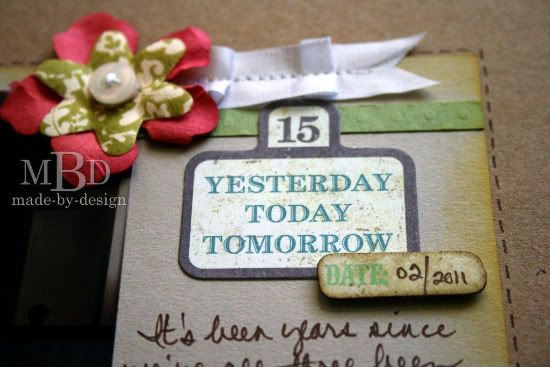
• I added 3 clusters of embellishments to the layout that weren’t originally drawn in the sketch to draw your eye around the page.
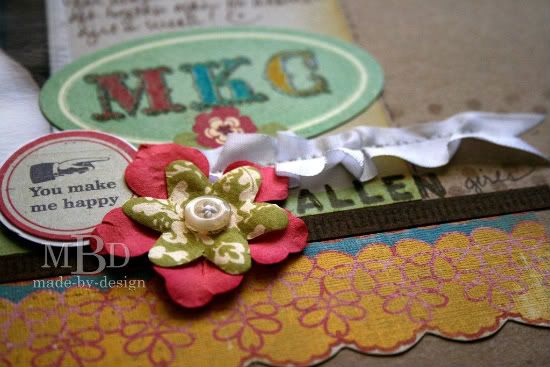
• Layered flowers with sewn buttons, circle stickers mounted on white cardstock circles, and ribbon ruffles completed these embellishment clusters.
• I also added a couple of die cut shapes on the 2nd page along with an oval sticker that I stamped our initials on, embossed and colored in with markers. The colors I used for each letter coordinated with the colors of our rooms when we were growing up.
• To finish off the layout, I drew faux stitching lines around the gray cardstock with a brown marker. I also inked the edges of the gray cardstock with a green ink pad and a sponge.
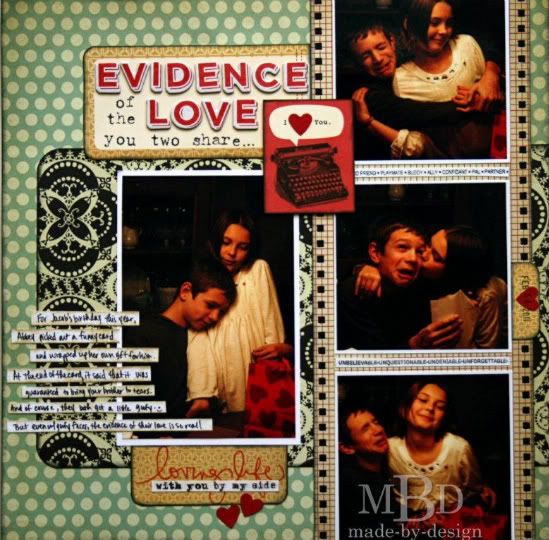
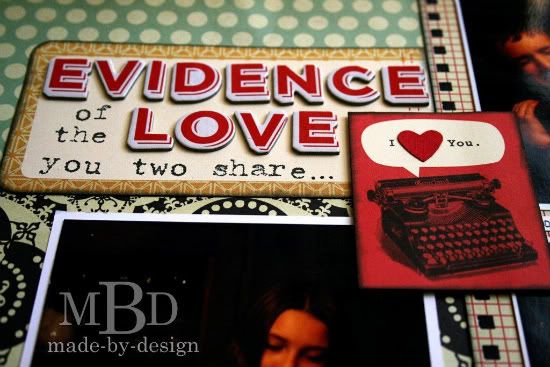
"Evidence of the Love You Two Share"
Supplies Used - Cardstock: Close to My Heart (white); Patterned Papers: Cosmo Cricket (Circa 1934: Chaplin, Garbo, Bette, Elements, and 6x6 pad); Stamps: Technique Tuesday (Ali Edwards), EK Success (Image Tree Alphabet, Antique Typewriter), and Office Date Stamp; Inks: Ranger Distress Inkpads (Antique Linen, Barn Door) and Uchida (Marvy Matchables Black Inkpad); Marker: Zig; Punches: EK Success (heart), Carla Craft Binding System (Square Holes Punch), and We R Memory Keepers (Corner Chomper); Embellishments: American Crafts (Sweet - Love Tomato Glossy Chipboard Alphabet Stickers)
Photos: four photos total used.
• Instead of using a horizontal 4x6 photo, I used a vertical 4x6 for the main photo.
• I used three photos instead of four in the strip along the right side of the layout.
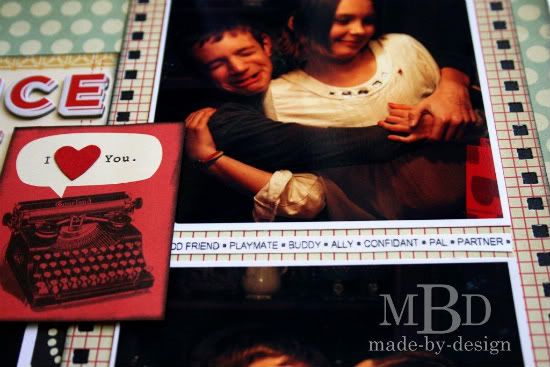
• I added stamped journaling words between the smaller photos.
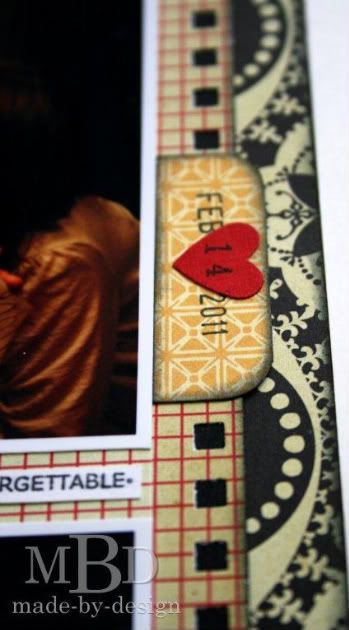
• I turned the right side strip into a photo negative strip with punches.
Title:
• I used the journaling area next to the title for a longer stamped subtitle on my layout.
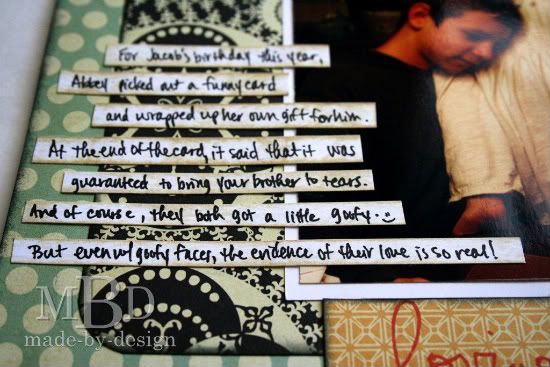
• I added my journaling in strips on the left side of the main photo.
• I changed the right side journaling strips into a tab with the date.
• I added a larger tab along the bottom of the main photo with a stamped saying.
• I stamped the saying in red ink, then went back, cleaned my stamp off, and used a marker to ink up the bottom words in black. Then I stamped those words on a white piece of cardstock and cut them out in strips and glued them down over the original stamped image.
Embellishments:
• My main embellishment was a printed image of a typewriter that I cut from a pattern paper.
• I used small punched hearts to accent my layout.
• Covered up the word " love" on the typewriter image with one of the hearts.
• I edged the outside of the layout with a black inkpad and sponge.

No comments:
Post a Comment